
Gardening is a wonderful hobby that not only beautifies your surroundings but also provides you with fresh produce and a sense of fulfillment. However, before you can start planting, you need to prepare the garden plot. Preparing a new garden plot is essential to ensure that your plants grow healthy and strong. Preparing a new garden is the same as preparing a room in the house, it combines the practicalities with aesthetics. In this article, we will provide you with a step-by-step guide on how to prepare a new garden plot.
Step 1: Choose the right location
The first step in preparing a new garden plot is to choose the right location. Ideally, the location should be in a spot that receives at least 6-8 hours of sunlight per day. It should also have good drainage and be protected from intense winds. If possible, choose a location that is close to a water source.
Step 2: Remove the grass and weeds
Once you have chosen the location for your garden, the next step is to remove any grass and weeds growing in the area. You can do this by using a sod cutter or a shovel to remove the top layer of grass and soil. Remove as many roots as possible to prevent grass and weeds from growing back. Time spent preparing the garden is not wasted, it is reducing maintenance costs during the growing season.
Step 3: Test the soil
After removing the grass and weeds, you must test the soil to determine its pH level and nutrient content. You can purchase a soil testing kit from your local garden centre or have your soil tested by a professional. Knowing the pH level and nutrient content of your soil will help you determine what amendments are necessary to create the optimal growing conditions for your plants.
Step 4: Amend the soil
Once you know the pH level and nutrient content of your soil, the next step is to amend the soil. Depending on the results of your soil test, you may need to add fertilizer, compost, or other organic matter to improve the soil's quality. Be sure to mix the amendments thoroughly into the soil to ensure that they are evenly distributed.
Step 5: Create garden beds
After amending the soil, it is time to create garden beds. Garden beds help to organize your plants and make it easier to weed and water your garden. You can create garden beds by using raised beds, mounded beds, or simply by using rows. Be sure to leave enough space between the garden beds to allow for easy access.
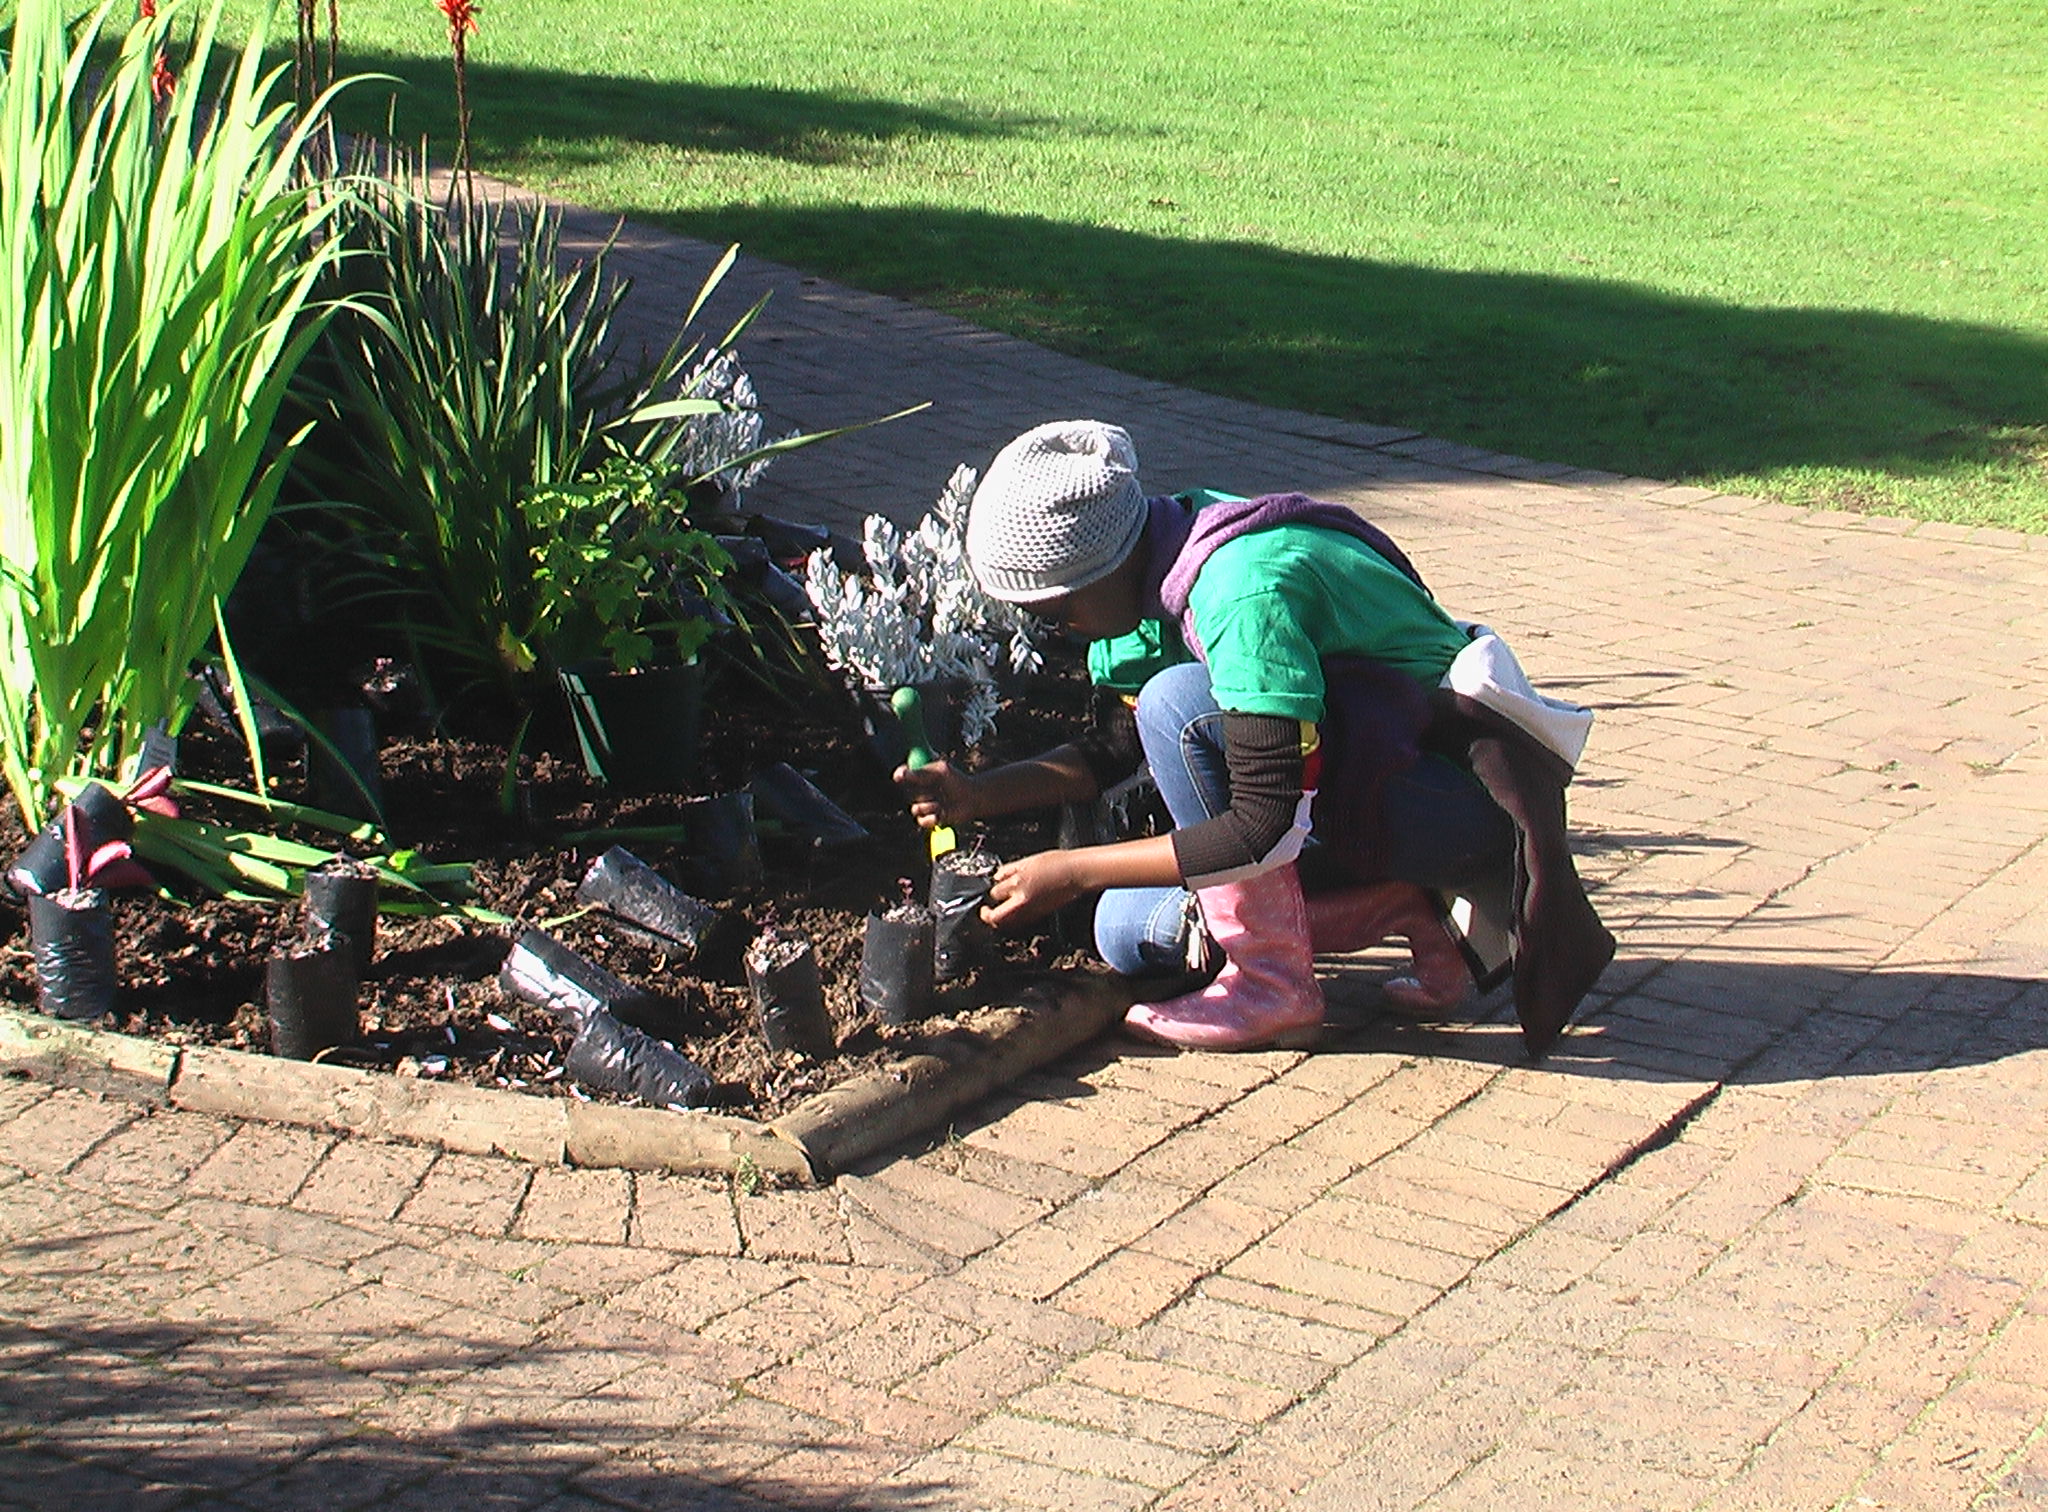
Step 6: Choose your plants
Until the garden is planted it remains incomplete. The plants you choose and how you group them will depend on many factors. Planting can be used to achieve a specific purpose, to provide food for birds and butterflies, for screening, or to add value to the property. Choose plants adapted to your environmental conditions. Consider the size of plants you are choosing for your garden.
Step 7: Mulch the garden beds
Once the garden beds are created, the last step is to mulch the garden beds. Mulch helps to retain moisture in the soil, prevent weed growth, and regulate soil temperature. You can use organic mulch, such as shredded leaves or straw. Be sure to spread the mulch evenly over the garden beds to a depth of 5-7 centimetre.
In conclusion, preparing a new garden plot is a crucial step in creating a thriving garden. By following these seven steps, you can ensure that your garden has the optimal growing conditions and is set up for success. With a little effort and patience, you will be on your way to enjoying a rich harvest in no time. Happy gardening!
No comments:
Post a Comment